Contents
Learn How to Use CapCut Application on your mobile, discover and use templates, effects, filters, and text, create new projects, add audio, and add transitions.
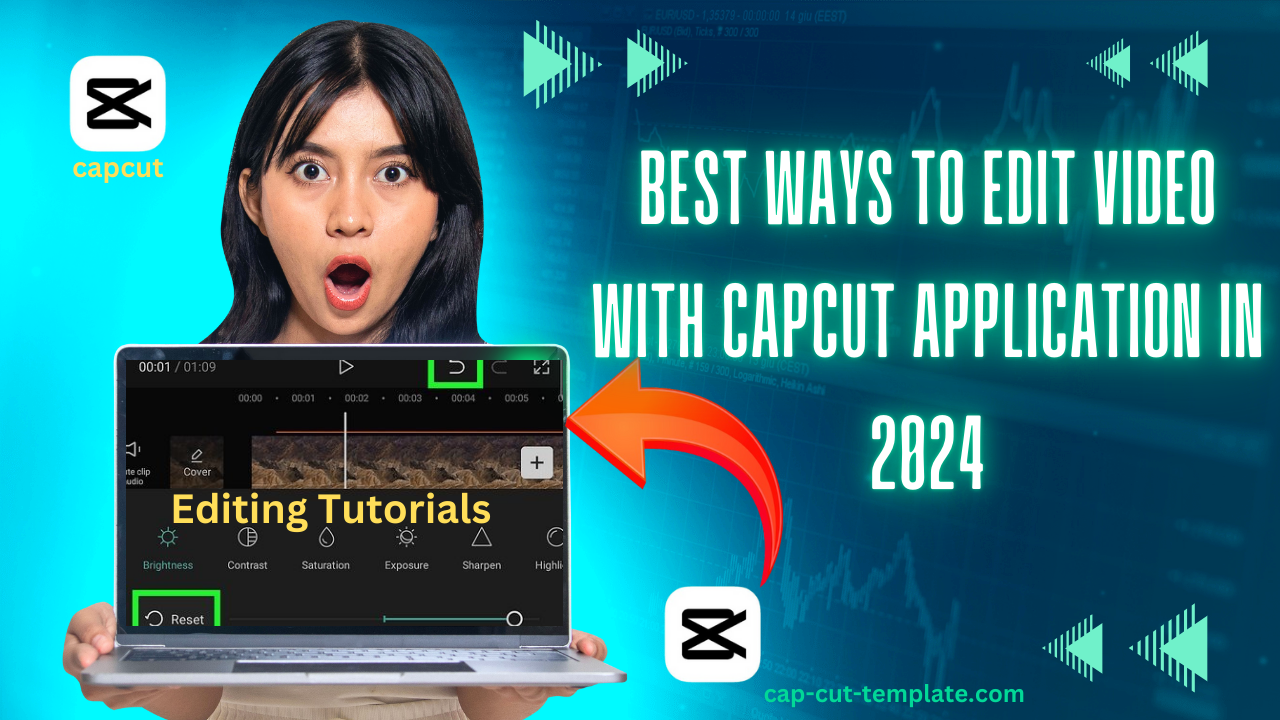
CapCut is one of the best video editing platforms it is a very easy video editing app for mobile apps.
CapCut is a versatile and user-friendly video editing app that has gained popularity for its powerful features and intuitive interface. Whether you’re a beginner or an experienced video editor, CapCut offers a range of tools to help you create professional-quality videos. In this guide, we’ll walk you through the steps to get started with CapCut and make the most of its features.
Getting Started with the CapCut Application
1. Download and Install
First, download CapCut from your device’s app store. It’s available for both iOS and Android. Once installed, open the app to begin your video editing journey.
2. Creating a New Project
- Open CapCut and tap on the “New Project” button.
- Select the videos and photos you want to include in your project from your device’s gallery.
- Tap “Add” to import them into your project timeline.
1. Timeline
The timeline is where you assemble and edit your video. It displays your video clips, audio tracks, and any effects or transitions you’ve added.
2. Tools and Features
- Edit: Tap on a video clip in the timeline to access editing tools like split, speed, and reverse.
- Audio: Add music, sound effects, or voiceovers. You can also adjust the volume of each audio track.
- Text: Insert text overlays, choose from various fonts, and customize the text’s appearance.
- Effects: Apply filters, transitions, and other visual effects to enhance your video.
- Stickers: Add stickers and emojis to your video for a fun touch.
Basic Editing Techniques
1. Trimming and Splitting Clips
- To trim a clip, tap on it in the timeline, then drag the edges to shorten or lengthen it.
- To split a clip, position the playhead where you want to make the cut, then tap the “Split” button.
2. Adjusting Speed
- Tap on a clip,b then select the “Speed” option.
- Choose to speed up or slow down the clip. You can also create speed ramps for more dynamic effects.
3. Adding Transitions
- Tap the small square between two clips in the timeline to add a transition.
- Choose from a variety of transition effects to create smooth scene changes.
Enhancing Your Video
1. Applying Filters and Effects
- Tap on a clip and select “Effects” to browse through different visual effects.
- Apply filters to change the overall look and mood of your video.
2. Adding Text and Titles
- Tap “Text” and choose from various templates or create your own.
- Customize the font, color, and animation of your text.
3. Inserting Music and Sound Effects
- Tap “Audio” to add background music or sound effects.
- Adjust the volume levels and synchronize audio with your video clips.
Advanced Features
1. Keyframe Animation
- Use keyframes to create custom animations and movements for your clips and effects.
- Tap on a clip, select “Keyframe,” and add keyframes at different points to animate properties like position, scale, and rotation.
2. Chroma Key (Green Screen)
- Tap on a clip with a solid background color, select “Chroma Key,” and choose the color to remove.
- Adjust the settings to achieve a clean key and replace the background with another image or video.
Exporting Your Video
Once you’re satisfied with your edits, it’s time to export your video:
- Tap the export icon (usually a square with an arrow pointing up).
- Choose the resolution and frame rate for your video.
- Tap “Export” to save the video to your device or share it directly to social media platforms.
Tips for Creating Great Videos
- Plan Your Story: Outline your video’s concept and structure before you start editing.
- Keep It Short: Aim for concise and engaging content to hold your audience’s attention.
- Use High-Quality Footage: Ensure your video clips are clear and well-lit.
- Experiment with Effects: Don’t be afraid to try different filters, transitions, and effects to find your unique style.
- Edit with Music in Mind: Sync your cuts and transitions with the beat of your background music for a professional touch.
Conclusion
CapCut is a powerful tool that makes video editing accessible to everyone. With its wide range of features and user-friendly interface, you can create stunning videos for any purpose. Follow this guide to get started, and soon you’ll be producing content like a pro.